This page is all about my ideas for the scenery for my layout and what I think can be possible. Taking it beyond what I know it to be is the goal here so let's get started!
6/8/25
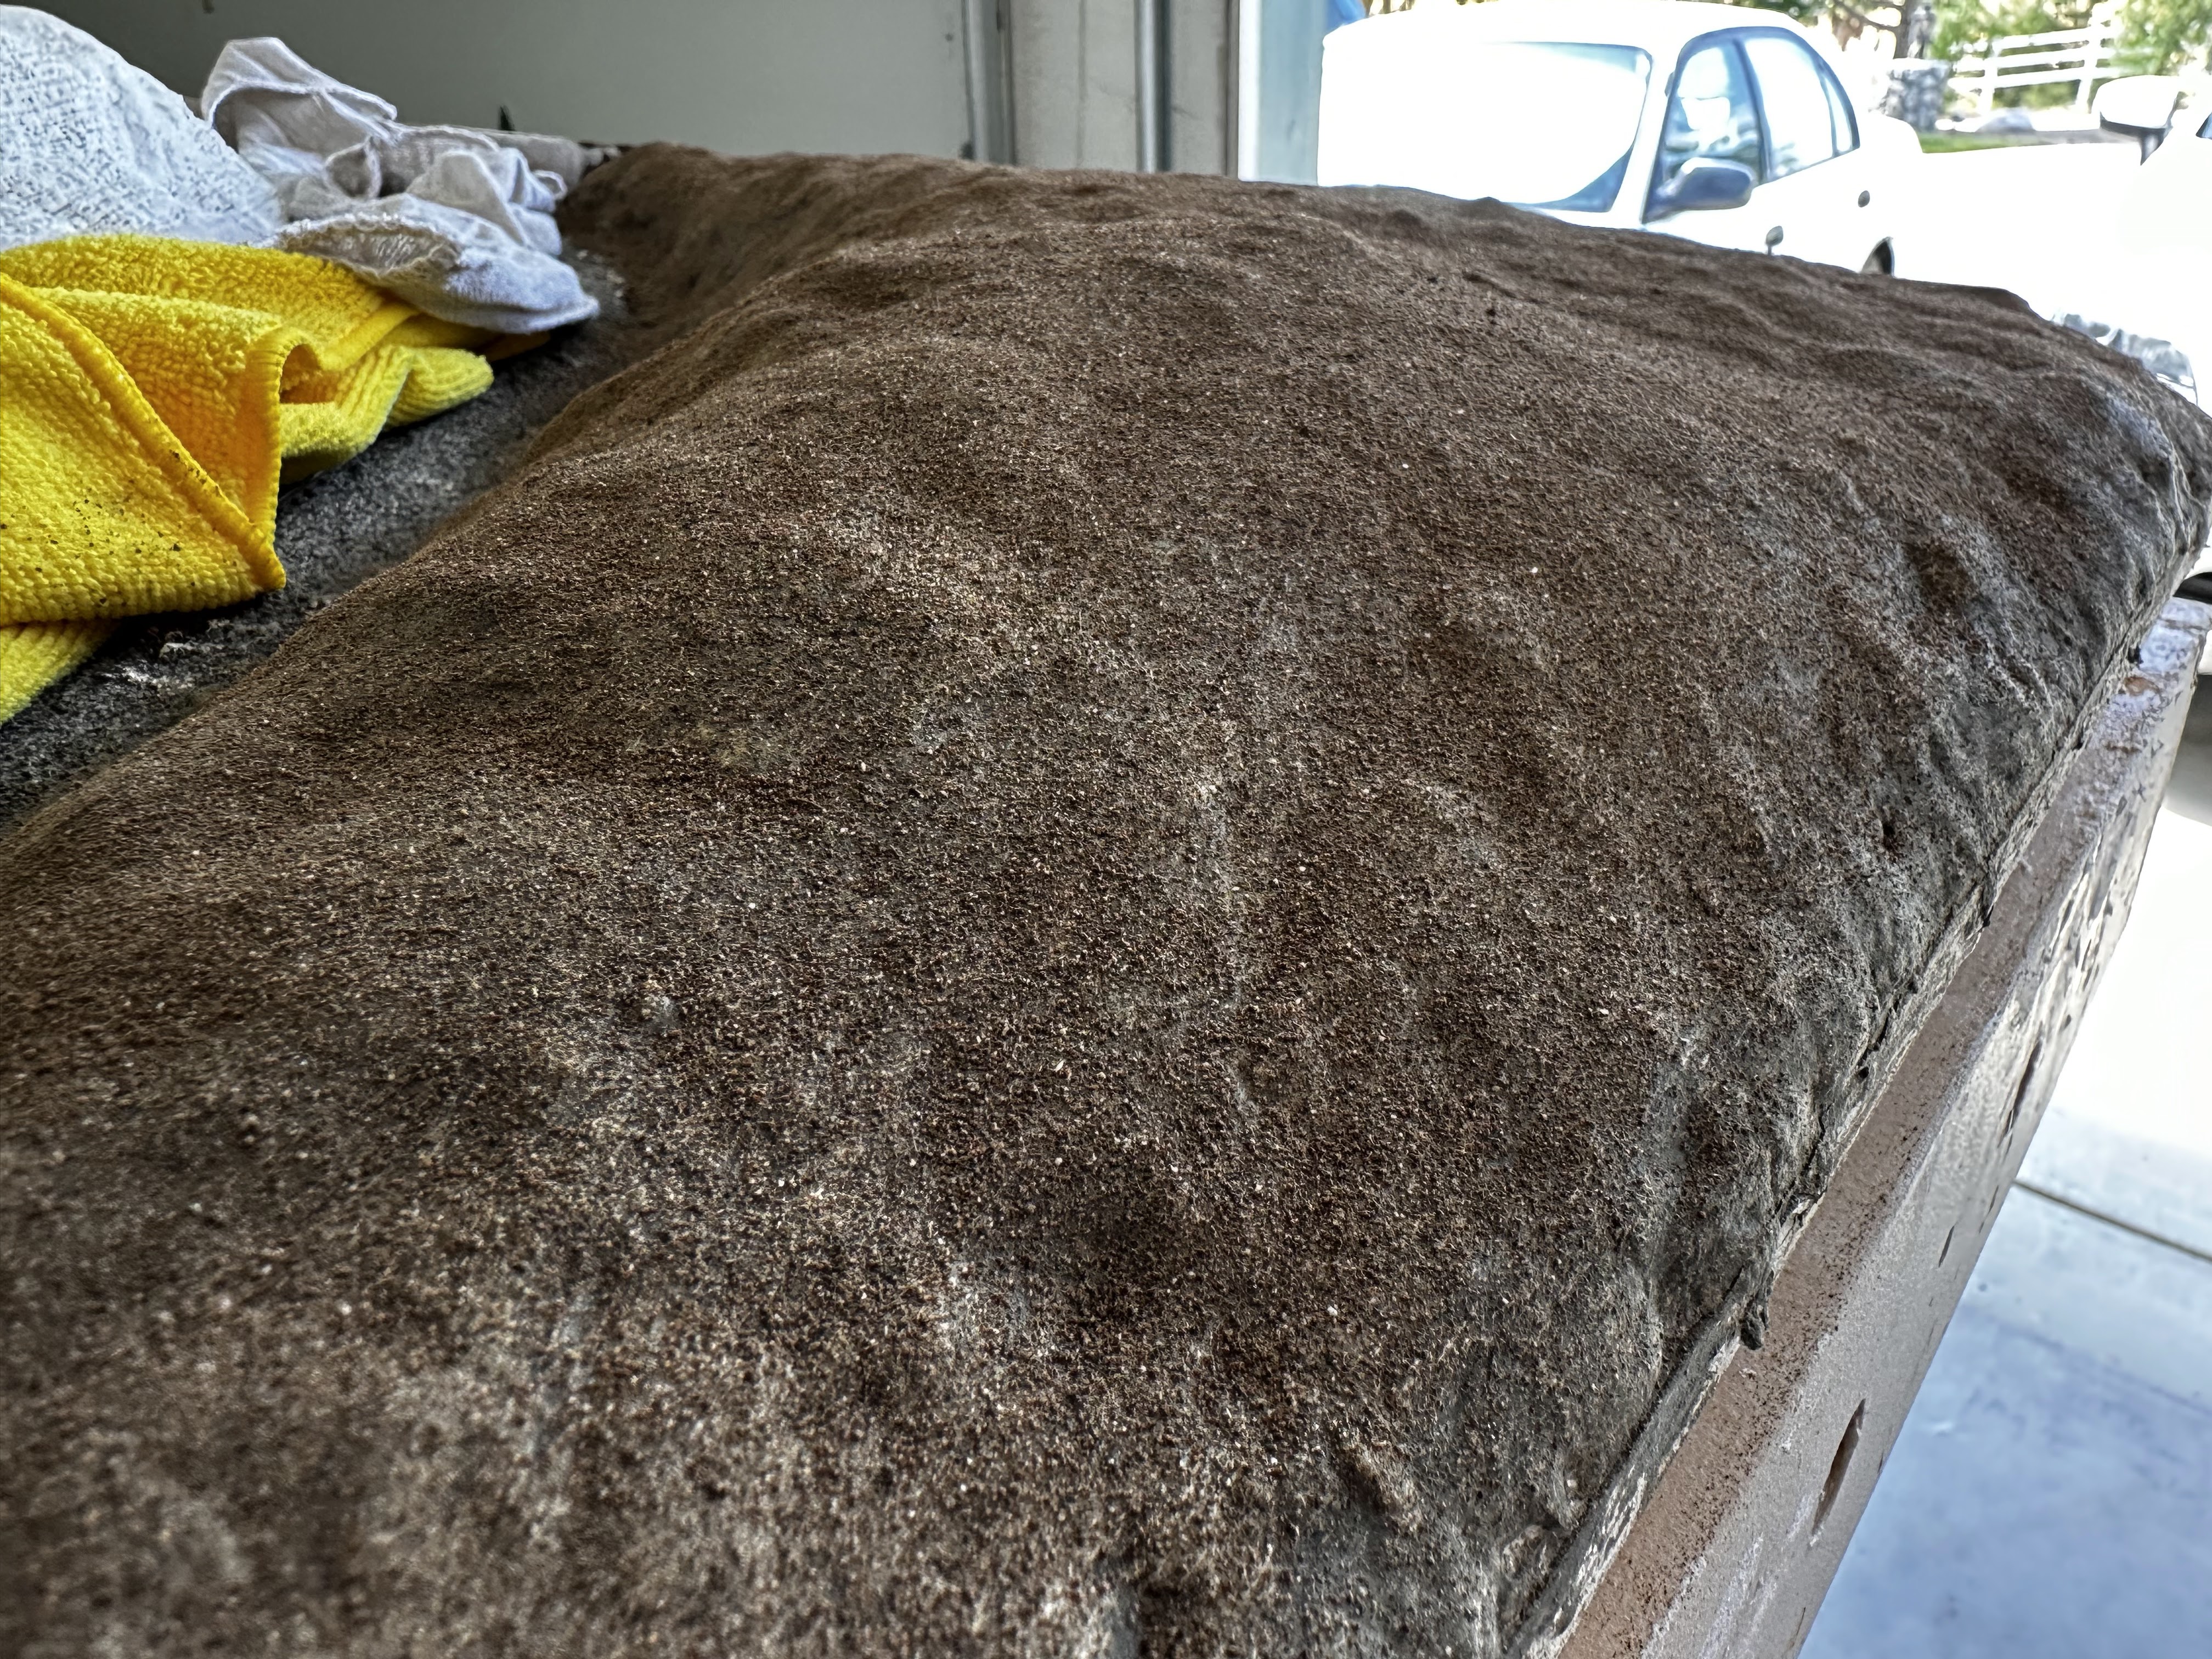
I finally got a chance to paint the tracks in Arnold. This will enable me to start laying down some Ground cover followed by Ballasting of the tracks. Arnold Yard itself will have a dirt/ballast mix as Yards are usually flat with little change in elevation. I got the idea of using Tamiya Red/Brown paint in a rattle can from a Gentleman on YouTube to paint my tracks and must say I'm very happy with the results. Once I sprayed the tracks, I waited about an hour before I started to remove the paint from the tops of the rails as from my past experience, the paint comes off a little easier versus if I wait a day or two. Yes, it's still a lot of work but still easier. I used a PECO track cleaning rubber and the underside of a piece of carpet to keep my track cleaner clean. Also, be sure to wear googles and a good respirator, not a .99 cent box of those paper masks but a good respirator. Here is the 3M respirator I use along (2) Multi Gas/Vapor cartridges number 60926. Your Health is worth the extra money.
 |
| A 3M respirator with two Multi Gas/Vapor Cartridges and a good pair of Googles |
 |
| A good respirator is worth the money for your Health |
 |
| East end of Arnold Yard before painting of the tracks |
 |
| West end of Arnold Yard previous to painted tracks |
 |
| West end of Arnold Yard with painted tracks |

 |
| East end of Arnold Yard with the tracks painted |
 |
| Mission Accomplished! |
9/9/23
Using Woodland Scenics Pigments and some Friend's red dirt, I got some ground cover laid down, FINALLY! I was also able to wash the cliffs along the mainline just west of MINA using Woodland Scenics pigments. After seeing Wind Canyon in Wyoming and seeing how Nature doesn't follow any particular form or fashion, I figured I couldn't go wrong with what ever I do because however it turns out, it's going to look good and I was spot on as the results I got are very satisfying. What's to realize is that this is all just one big experiment and that Nature does all kinds of things making it easy to replicate what we see in Nature.
When I washed the first area, I saved the water I used to clean my brush and used it for a base wash for the cliffs near MINA as this makes for an excellent wash in itself. I added some Woodland Scenics Black pigment to this left over wash, a brush and some water to brush on the wash letting it drip down the sides of the cliff, working the wash into some areas. It was SUPER easy and I'm very happy with the result.
As for the red dirt, I've always liked the look of red dirt out in the Real World so when a friend of mine was redoing a wall at his house, he wanted to know if I wanted an old beat up generator he wanted to get rid of. I told him what I'd really like is a bucket of his red dirt. After a long inquisitive look, He said "For your layout, Right?". I said you betcha! A couple days later he showed up with a 5 gallon bucket of red dirt from his backyard. Thanks Jim!
 |
| Woodland Scenics Pigments and real red dirt! |
 |
| I like the look of red dirt out in the Real World |


 |
| The Dayton Turn is going by the newly laid down ground cover at Mound |

 |
| I tried using towels instead of tape witch made for a much easier clean up |
 |
| The first coat of wash |
 |
| The second coat of wash after adding some Black pigment to the wash |
 |
| The final result |
 |
| Definitely a work in progress but that's what makes this all so enjoyable |
5/7/23: I admit, it hasn't been easy for me to get my interest in doing scenery going again but after watching Steve Brown's YouTube channel with him showing how he uses Scalptamold to make textured topography and how good it turned out, I figured what do I have to lose so I gave it a try and am quite pleased of the results. The thing I like about Steve's approach is to strive for progress not perfection and that I can recover from any mistake. So I put on a pair of rubber gloves, grabbed a handful of Scalptamold, added some water until I got the consistency I wanted and went to work.
 |
| Looking east at the scenery on the left side of the Mainline |
 |
| I started here working my way towards the garage door |
 |
| A close up of my handy work |
 |
| Scaltamold gives immediate results |
 |
| Next comes some paint and real dirt! |
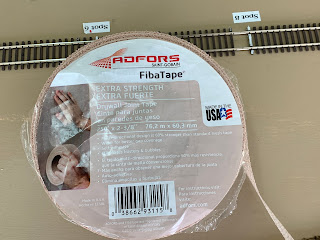
2/7/22 Update: Using the FIBA tape as a backing for the plaster scenery works very well. However, what we noticed is the sticky backing on the FIBA tape doesn't enable it to stay put too well. Solution: Lay down a spray adhesive where your going to lay down the FIBA tape. This keeps the FIBA tape from coming undone and makes for a strong support of the plaster.
9/2/21
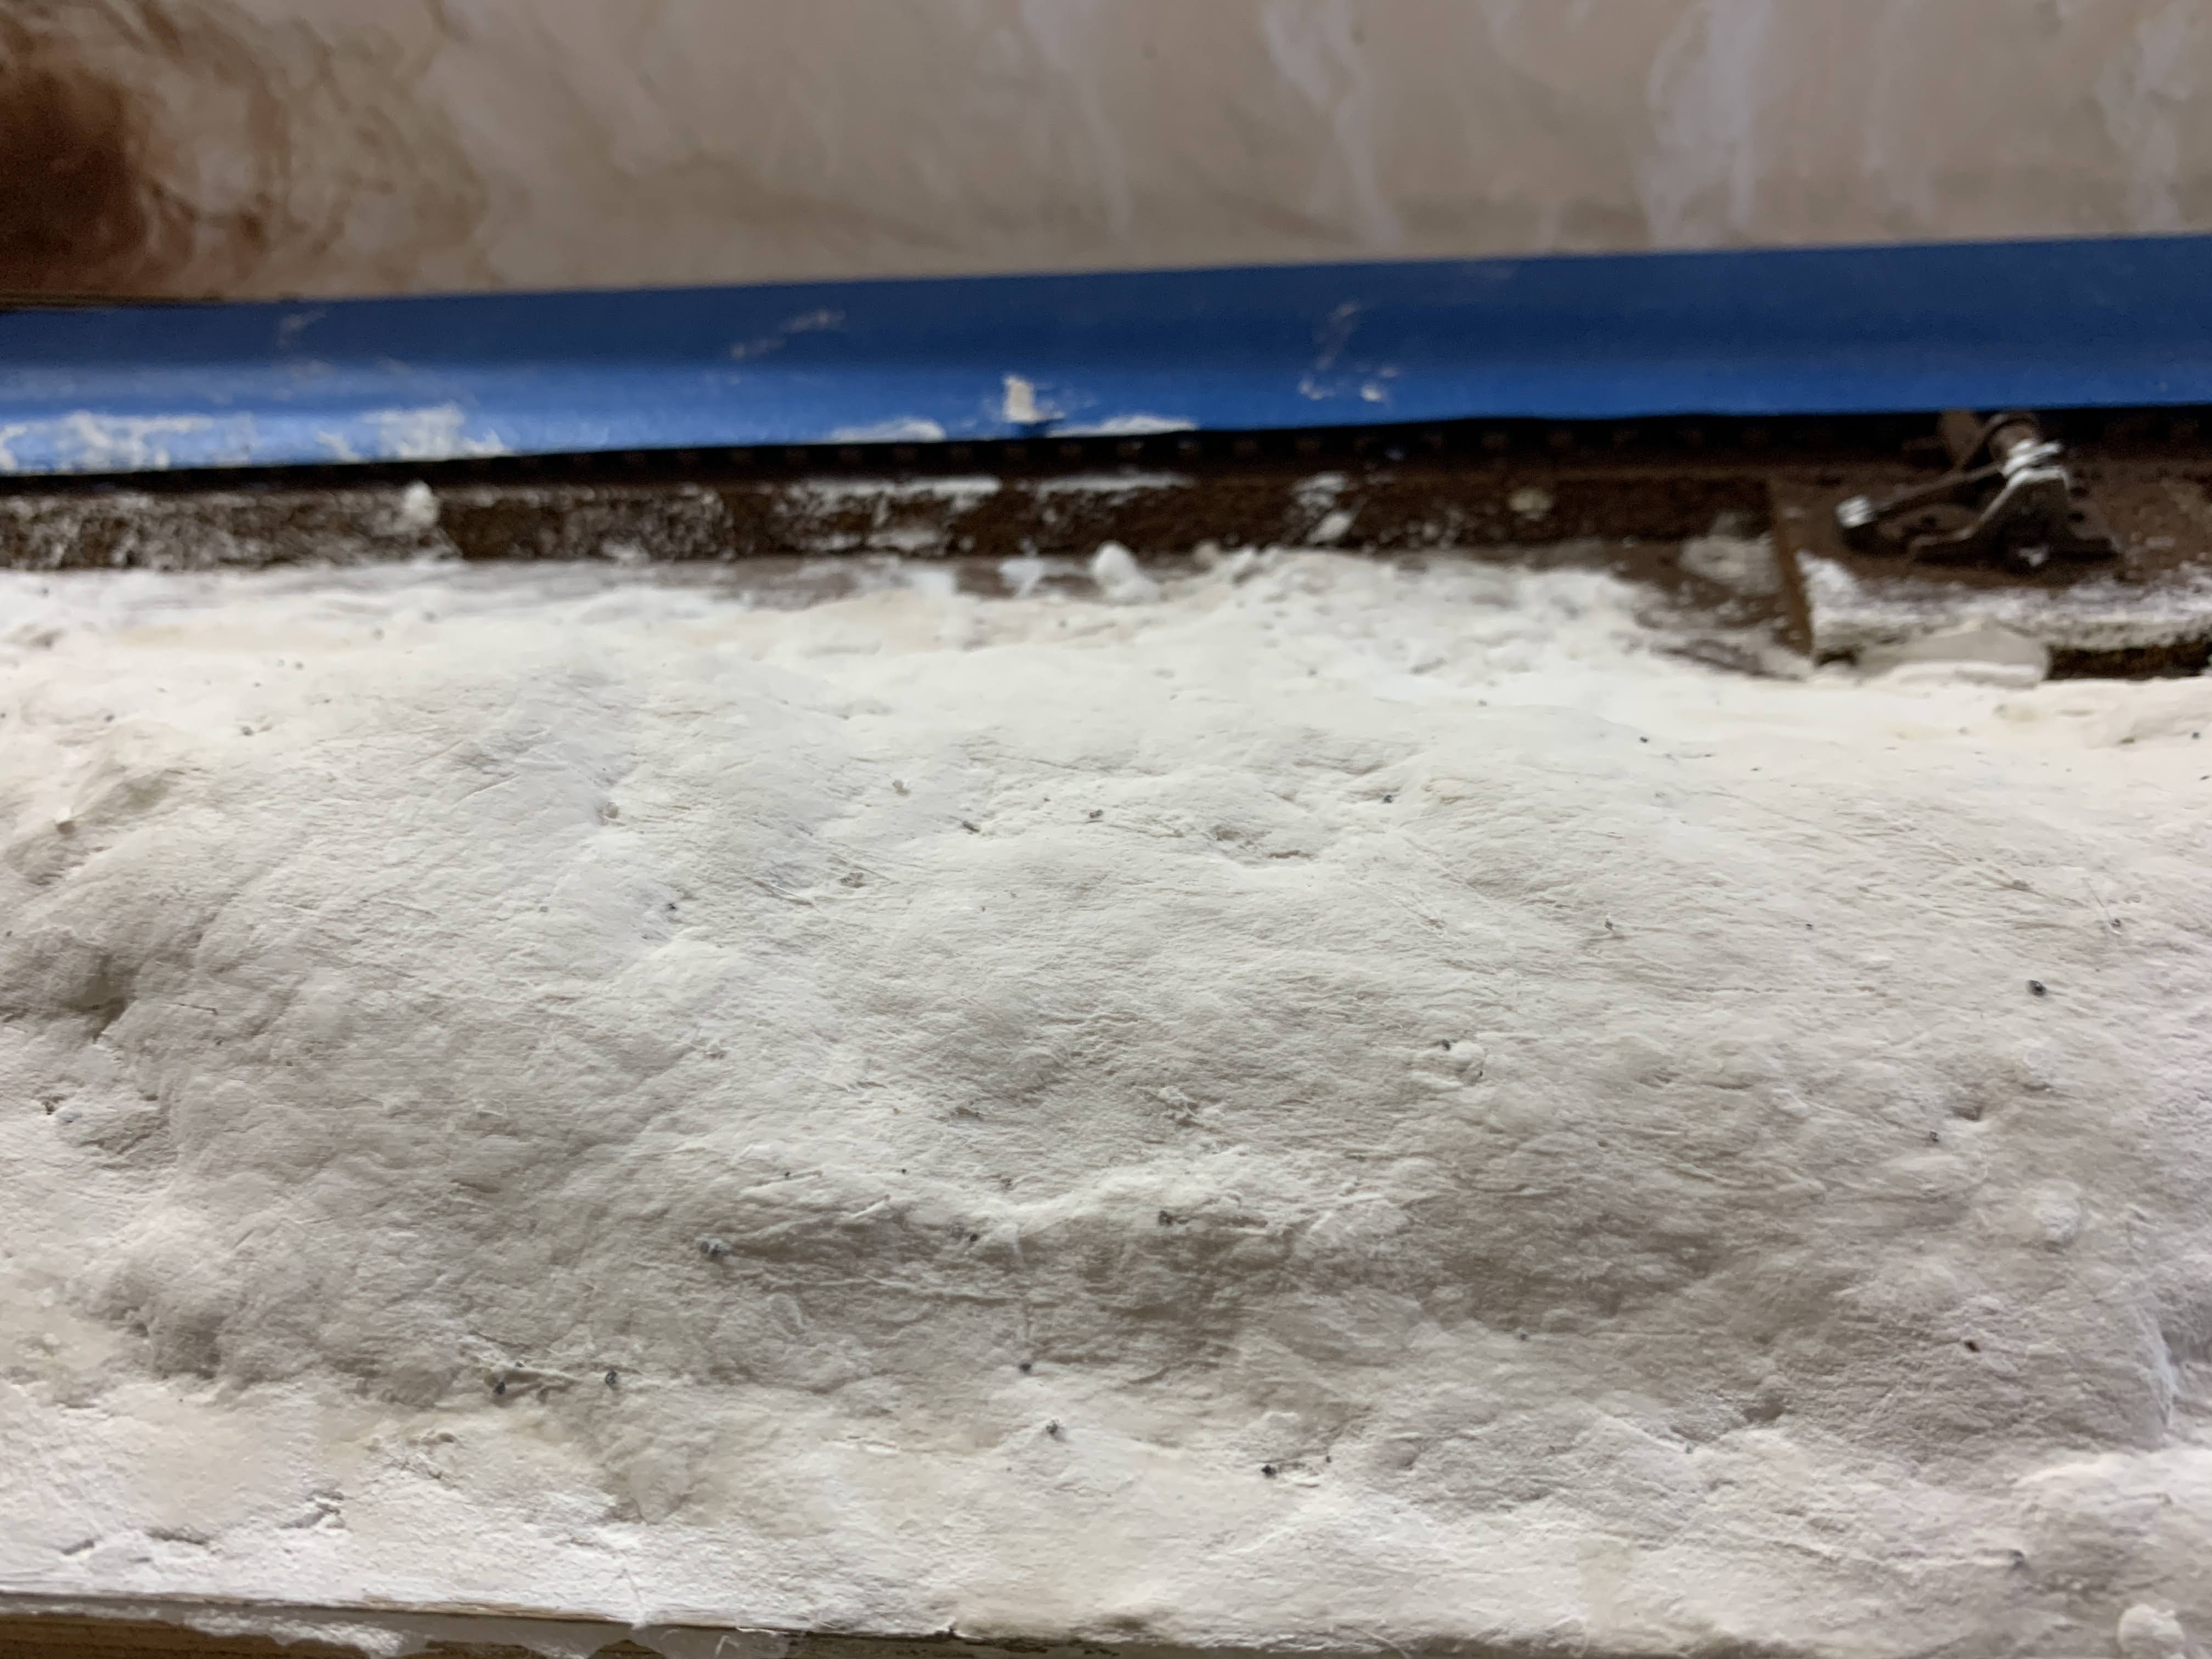
I've been working on putting down the ballast and making tunnel linings and have been using Woodland Scenics tunnel lining molds. It's a simple matter of making some plaster as I would for any other application, making sure the mix is thick enough that it won't run when pouring it into the mold. Now you would think because of the way the mold is shaped that the plaster would run off the mold but if you make the mix the thickness of a pancake batter, it won't run off and will be the right consistency for you to work it with a putty knife.
8/21/2021
Well things are rolling along with the scenery as my friend Dale Kopes is applying his creative talents to the layout. Dale has not done scenery on a layout before but he knows what he wants to do and how he wants it to look so Dale is the official Great Basin & Southwestern Scenery Master. On Dale's last workday, he brought with him some FIBA TAPE which is used to mud drywall joints. I didn't know that this now comes with a sticky backing so when Dale showed it to me I thought this may work as we were having issues with the plaster cloth lifting up from the plywood and the FIBA Tape would give the plaster cloth something to grab onto.
 |
| My Friend Dale Kopes applying some plaster cloth to the FIBA TAPE backing |

 |
| Pic showing some plaster cloth applied onto the FIBA tape backing |


 |
| This is the FIBA tape Dale brought with him and it seems to work very well |
 |
| The roll Dale brought with him is 250 feet long and about 3 inches wide |
 |
| The next 3 pics show the applied FIBA tape to the benchwork |


 |
| Scenery work has begun at the west end of Hearne |
 |
| Dale has started to add contour to the plaster cloth |
 |
| A closer look at the contour Dale is adding to the existing plaster cloth I do my own thing while Dale is working his magic with the scenery. Today I worked on painting the tracks up to the west switch at Hearne to get it ready for ballasting. I can't take credit for this as I watched a video on YouTube of a Gentlemen using Tamiya Red & Brown (TS-1) spray paint and I really like the result, especially when I get the ballast down as this gives the track a prototypical look without all the fuss of using an airbrush. |


 |
| Rails painted and ready for ballast! |
3/8/2021
So my friend Dale calls this morning to ask me what I thought about taking out the corn syrup processing plant and instead, putting a grain elevator at this location. Now I know Dale has always been big on grain elevators and I have been going back and forth between doing a corn syrup processing plant or an ore mine at this location. I want something that has a small footprint and produces a lot of traffic. At first, I just wasn't sure about a grain elevator as I had been considering the corn syrup processing plant or the ore mine as I have cars for both these industries.
As I think about what Dale is proposing, I think maybe he has an idea. I don't know about you but having been through the Midwest several times, there still is a lot of grain elevators out there that are still being used! So Dale's idea of a grain elevator more fits the plan of having a Shortline Railroad situated in the Midwest. Very apropos indeed!
And besides, I can have industry on the layout such as a food processing plant or a beverage plant that uses my corn syrup tankcars! And I can always do a run through iron ore train using my ore cars. This is all possible due to the staging I installed on the layout. And I can always sell what I can't use on eBay if push comes to shove. It's great to have options!
So OK Dale, let's go with your idea of a grain elevator at this location.
 |
| The current location where the corn syrup plant was to be |
 |
| Right now, I have in place the ore loading building I was considering before Dale put the bug in my ear |
My Dale Kopes had asked me when I started construction of the layout if he could help me with the scenery. Well, here we are and Dale has really taken the bull by the horns. Dale thinks outside the box and has helped me see things differently as a result.
Using Plaster of Paris and Woodland Scenics Plaster Cloth, we are carving out how we are wanting this all to look. What you see in the pictures below is the shell that will have another coat of plaster applied before we start staining all of this.
Below are photos of the latest scenery construction. we are not that far from painting and staining what you see so stay tuned for more updates.
 |
| Scenery yet to be stained and painted |
 |
| Using Plaster of Paris and Woodland Scenics Plaster Paper to get the look we want |
 |
| Separation of the scenes using berms is part of keeping the scenes separated for that feel of distance |
 |
| What is to be covered with trees and a couple of Railfans taking in the action by the tracks |
 |
| Dale putting his very creative mind to work |
 |
| We cut Plaster Cloth into 1"x1" pieces, dip them in water one at a time and crumple them up and apply these to the cliffs giving us the desired look |
 |
| Dale applying crumpled up plaster cloth pieces to the cliffs |
 |
| Here's Dale checking out his handy work |
The scenery has begun on the Dakota, Nebraska & Western Shortline Railroad. My friend Dale and I took the section between the west switch at Mina and the east switch at Hearne to begin our experiments. The portion of track from Mina to Hearne is on an incline where as the track adjacent to this is the track coming down from the west end of Arnold Yard declines downward to Hanford.
This creates a separation between these two tracks which enables a scenery zone. This is where we started our experiments of using masking paper dipped in plaster of paris vs Woodland Scenics plaster cloth. The results of both were very satisfying as you can see from the photos.
We liked the masking paper as it remained very strong even after soaking it in the plaster mixture making it easy to apply to the crumpled up paper we laid down previous to applying the masking paper. The plaster cloth was excellent for use for forming cliff sides, something we were concerned about.


I think what Doug Smith had in mind for the original Brooke Valley based on the design He came up with was to have the Brooke Valley broken up into different scenery sections.
 |
| The original Brooke Valley showing the Scenery elements used to give the feel and look of distance |
 |
| Another pic of the original Brooke Valley. Notice how the layout was designed to give the feeling of separateness and distance to each Town |
Yes, this is what would be considered a compact layout but if done right, it can be made to look bigger that it really is. Less is more! And with the addition of staging, the illusion of distance is given an even more substantial importance as Trains can come or go from somewhere far away. Tons of potential here!
I'm not to the scenery stage yet but want an understanding of how the design of my layout accommodates and enhances the illusion of distance so that I may be able to incorporate this in the scenery plan. I think it helps to see the layout as a theatrical production in that the layout is the stage and the Trains are the actors and the scenery are the props to give the illusion that the Trains are traveling through something that is bigger than what really is. Stay Tuned!
Looking good Mel. Bill Vaughn
ReplyDelete